Tax-Free* | 18-Month Warranty | 30 Day Returns Guaranteed.

cad software

Quick Link

Suggestions

Products related to this item

Vantrue N4 3 Channel Dash Cam

( 1243 Reviews )

1440P+1440P+1080P Super Capacitor Dash Cam with Infrared Night Vision, Support up to 512G Max.

Save $52 with code VANN4 at checkout.
Price: $259.99

24 Hours Parking Mode, Motion Detection, Time Lapse.

Quantity
Safe & Secure
SSL site seal - VERIFIED & SECURED
Pay with Ease
PAYMENT.pngPAYMENT.pngPAYMENT4.png
Trusted Delivery
SSL site seal - click to verify


Specs

Support

PDF

N4 Hardwire Kit User Manual

No viruses ,,7.28M

.ZIP

N4バージョンアップの方法

No viruses ,

FAQ

N4 Rear Cam Cable Correct Connection

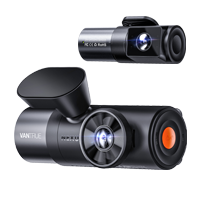
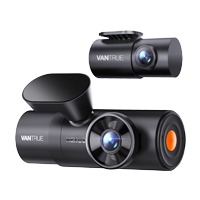
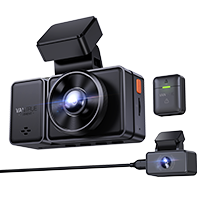
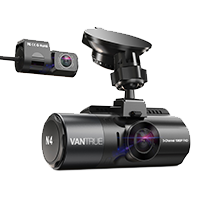
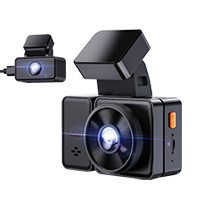
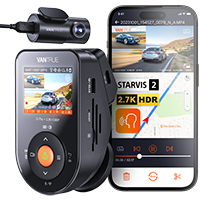
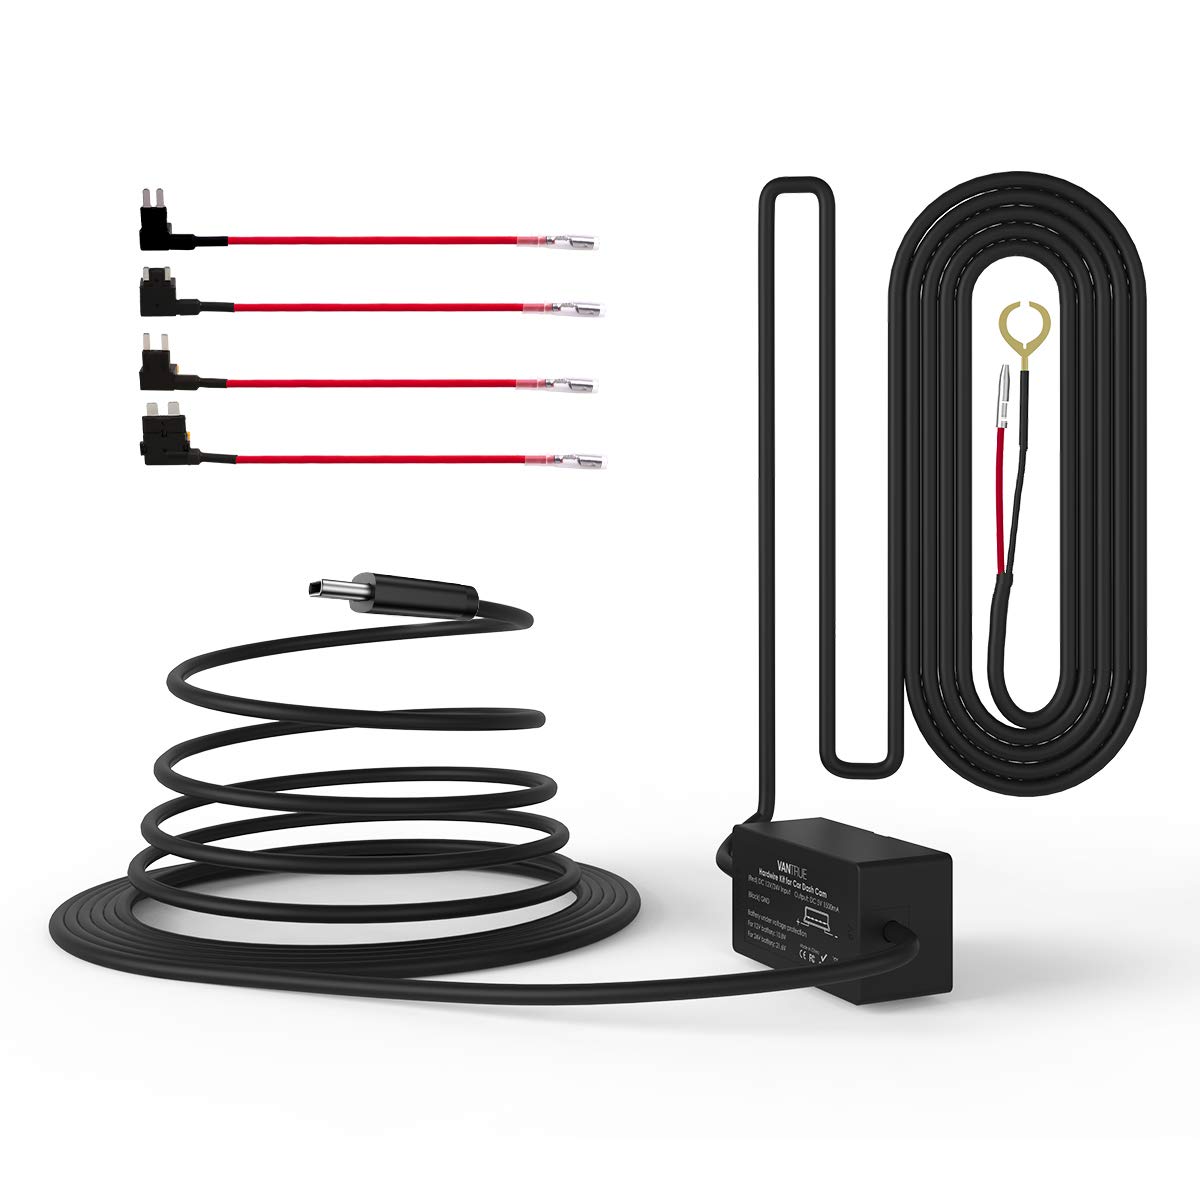
  1. Rear cable must plug into the rear USB port on the front unit.
  2. 3.5mm jack connection on the rear cable must connect properly.

 Note: Please contact us at support@vantrue.net if your rear cam still does not work after confirming cable connection with resolution settings are all correct. 

 Please meanwhile send us clear pictures which show all the cable connections and order number(ID) for your dash cam. Then we will provide you a solution soon. 

Thanks for cooperation.


Reviews

( 1243 Reviews )

4.7/5.0

Amazon Customer
This camera is High quality and the best camera out there. Came nicely packaged in the box and nothing was wrong with the box when it arrived. Would recommend to anyone who is an Uber or Lyft driver. Or anyone who just wants peace of mind while driving.
Jonathan R
I needed another dash cam for the other car. My wife is in car insurance law, so when this N4 became available with the rear window camera she was all for it. The more evidence the better.The camera is packaged extremely well with a short user guide and longer manual. All necessary cables for both powering the camera in the car and also to connect up to a computer. The only extra thing you need is a micro SD card.I was able to easily get the camera setup with a microSD installed. Set the language, date, time, and format the card. You can see in the close up picture. Small top left is the rear passenger camera, small top right is the rear windshield camera, and the big picture is the front facing.I stuck it to my windshield using the provided suction cup attachment and got to running the cables. I like the cables to be run extremely cleanly, mainly because if my kids saw a new cable they would probably pull on it. I was able to tuck everything away and will describe how next. You can see, or well can’t see, how the cables are all hidden away.An install tip. Having done this a few times now I have found the key to installing in tight areas and under seals is a couple of the free metal paint can openers. The bent tip is perfect for lifting a seal and pushing the round cable under.First was the main power cable. That can run up into the headliner and across to the passenger side pillar and down. Then under the glove compartment. I had extra cable, but it can just tuck away in the dash near the 12V power and shifter.Next is the long run to the rear windshield. This cable also starts from the camera. So up into the headliner it goes, then over following the other cable to the passenger side pillar. Now instead of going down we tuck it into the seal along the top, through to the back seats and then continue to the trunk. You can see the cable poke out of the seal to go direct to the camera in the top of the 5th picture. I had a lot of extra cable, but fortunately there is usually a lot of space behind the plastic covers, so I just tucked it all in there. The rear camera rotates so you can stick it on and then rotate it for the right angle as the rear window is generally at an angle. Yes, I did say stick on. It uses a 3M sticky pad for the rear, not a suction cup. It also comes with a spare sticky pad. I imagine for moving to a new car if needed.Pros:Very easy to install.Video quality is great.USB-C connection now instead of the older mini USB.Cons:I wish it had built in wifi like some of the other models have. Without the wifi I need to either show the video from the small screen, or connect up to my laptop if I have it.
Amazon Customer
I have never written a product review on Amazon but I was so impressed with the quality of this dash cam that I had to write on here. This is literally the best dash cam in the market today! I will be purchasing two more for the family vehicle.
Christopher Lee
The Vantrue dash cam is a lot smaller than I anticipated. It fit easily on the windshield, just be sure to really push in on the suction cup before installing. The dash cam itself was very easy to get up and running. Do remember that the SD card you insert has to be formatted through the dash cam (go to format through the menu).Image quality is really good. Really impressed with the cabin camera with infrared. Held up to hot weather and the sun beaming down on it for a whole day. It was hot to touch, but ran perfectly.Motion detection was fairly sensitive, which was good and picked up motion with all the tests I ran.If you are a rideshare driver, this is a must!
shopmanlerxt
I agree with most of the many positive reviews. See UPDATE below. You only get 2K picture quality by shutting off the other two cameras; otherwise it’s 1080P for all three. It’s not bad but I haven’t tried to read license plates yet. The manual confused me with the comment that the camera should not be left on for “too long”. I pressed for details and got back static. My friends and I have different brands of dash cams and had no issues with this. I live where every Summer is a heat wave. I hope Vantrue will upgrade to 4K resolution for all three cameras, and Wi-Fi/Bluetooth and an app. My screen goes black when it’s 100 degrees outside but still records. I’m sure my car gets much hotter. If the capacitor doesn’t last long enough to view recordings when unplugged (about 10 seconds). It seems handy for saving the current recording before it stops.UPDATE 2022-February. 1.5 years later.I’ve had very minor issues leaving this camera on 24/365 after getting used to it.1. Make sure I use high endurance SD cards and format them at least monthly.2. Hard reset the camera weekly or more.3. Not cheap but I had a second battery installed just for the camera so I can run it all the time without draining my starter battery.Now it’s extremely reliable and I’m super happy!
See all reviews >